Tag Archives: JXA-8800

Unstable electron optical system

When you get an unstable beam current, please check the
three components: +80V 1.5A, +75V 7.5A, and AL-02J in the EOS unit.

+80V 1.5A and +75V 7.5A (HV and CL/OL supplies)

The first step is to check the output voltage between check terminals. If the output voltage is incorrect, adjust it by VR1. Also, if the output voltage is unstable, you need to repair the PSS module. The easiest way is to replace all electronic parts on the PCB. You need to use 1/2W or grater registers instead of the original 1/4W registers when replacing the PSS components. The simulation shows the power consumption of those registers is more than 300 mW.


AL-02J (ALIGN coils and STIGMATOR)

I guess that insufficient thermal design may damage transistors on the AL-02 module. If this module’s output is unstable, you can replace transistors mounted on the heatsink (TO-220 package). Please apply high-quality thermal grease.

JEOL stage gear head repairment

Degration of the gear head(s) of the stage causes large backlash and makes stage positioning inaccurate. Main problem is wear of the clutch part of the gear head unit. It can be fixed by yourself as the procedure below.

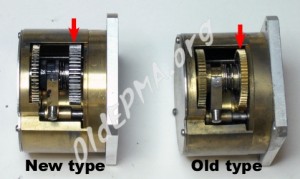
Types of JEOL gear head

There are two types of the JEOL stage gear head.


733-Gearhead-types

Step 1: Check backlash
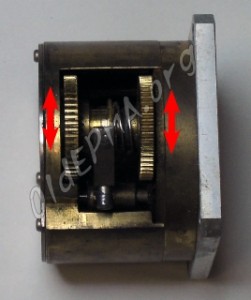
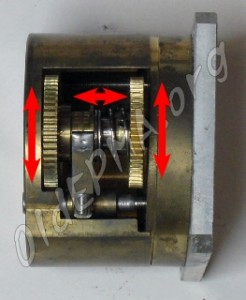
Move gears by hands to check backlash. Gears should not have backlash. If gears have backlash, even small movement, the clutch part needs to be maintained.
Check gears movement
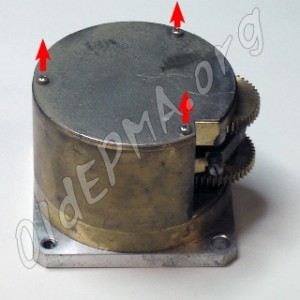
Step 2: Remove the cover
Remove three screws and the cover.
733-Gearhead-Step1
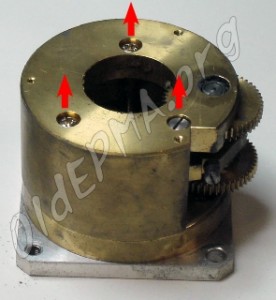
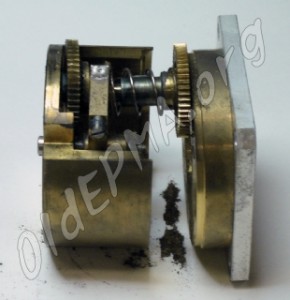
Step 3: Disassemble
Remove three screws and disassemble the gear head.
733-Gearhead-Step2
733-Gearhead-Step3
Step 4: Cleaning
Clean up all parts using acseton with ultrasonic cleaner.
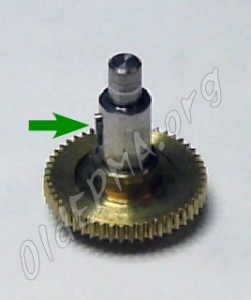
Step 5: Fix clutch (1)
Apply small amount of epoxy resin adhesive to the cluch pin.
733-Gearhead-Step5
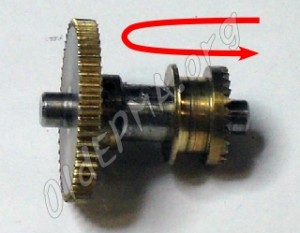
Step 6: Fix clutch (2)
Insert the gear and remove it to put small amount of epoxy resin adhesive on the clutch slit. Then, wait.
733-Gearhead-Step7
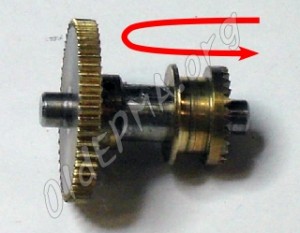
Step 7: Adjust clutch
Insert and remove the gear to adjust movement of the clutch system.
733-Gearhead-Step6
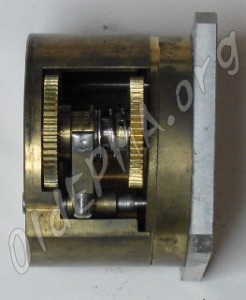
Step 8: Assemble
Assemble the gear head unit, applying suitable grease.
733-Gearhead-Step9
Step 9: Check
Check movement of gears and the clutch.
733-Gearhead-FinalCheck